Are you prepared to advance in your leg press foot placement technique? You’ve come to the right place if you’ve ever wondered what the leg press is, why foot placement matters, and what the best foot placement techniques are. In this complete article, we will be getting deep into the topic what is leg press and what is the importance of proper foot placement.
Not only will we share the ultimate best practices for maximizing results, but we’ll also reveal the secrets behind the five main foot positions that can help you master this exercise. That’s not all, though. We’ll also talk about typical foot placement errors that you should steer clear of. Finally, we’ll provide you with some sample leg press exercises so you can use what you’ve learned.
So, are you prepared to maximize the benefits of the leg press machine and improve your lower body? Alright, let’s get started!
Do read the People Also Ask (FAQs) about this topic.
Introduction
The leg press is a staple exercise for sculpting strong, muscular legs. But to maximize results, you need to pay attention to proper form – especially foot positioning.
Where you place your feet on the leg press platform significantly impacts muscle activation, knee tracking, range of motion and safety. That’s why optimizing foot position is critical for both joint-friendly training and effective leg development.
Finding the optimal foot position on the leg press is key to maximizing results from this staple lower body exercise. Your foot placement impacts muscle activation, knee tracking, range of motion, and safety. Whether your goal is building massive quads or sculpted hamstrings and glutes, foot position deserves attention.
In this complete guide, we’ll provide a deep dive into the pros and cons of the 5 main leg press foot stances. You’ll learn how to set up proper foot placement for your needs, mistakes to avoid, and sample positions to target different leg muscles. Follow these tips to get the most out of the leg press.
Key Takeaways
- Foot placement is essential for maximizing the benefits of the leg press exercise.
- There are five effective foot placement techniques that you can use:
- Hip-width stance: This is a good all-around foot placement that targets the quads, hamstrings, and glutes.
- Narrow stance: This foot placement targets the quads more intensely.
- Wide stance: This foot placement targets the hamstrings and glutes more intensely.
- High feet: This foot placement targets the quads and upper hamstrings more intensely.
- Low feet: This foot placement targets the lower hamstrings and glutes more intensely.
- Choose the right foot placement for your individual goals. For example, if you are looking to build bigger quads, you would want to use a narrow stance. If you are looking to build bigger hamstrings and glutes, you would want to use a wide stance.
- Experiment with different foot placements to see what works best for you.
Here is a bonus takeaway:
- Use a full range of motion during the leg press exercise to get the most out of the exercise.
Why Foot Positioning Matters
Proper foot placement on the leg press platform is important for several reasons:
- It affects muscle targeting. Your foot position determines which leg muscles receive more emphasis. For example, a wide stance works the outer thighs more.
- It impacts knee tracking. Foot placement keeps your knees safely aligned over your feet, preventing unwanted rotation.
- It changes the range of motion. Adjusting foot height lowers/raises the machine’s stopping point, altering squat depth.
- It prevents injury. Keeping feet firmly planted decreases the risk of slipping or knees caving inward.
For all these reasons, dialling in proper foot position is key for both joint-friendly training and optimal leg development.
The 5 Main Foot Positions
Five primary foot stances can be used on the leg press:
- Neutral/Standard Position
- Wide Stance
- Narrow Stance
- Low Foot Placement
- High Foot Placement
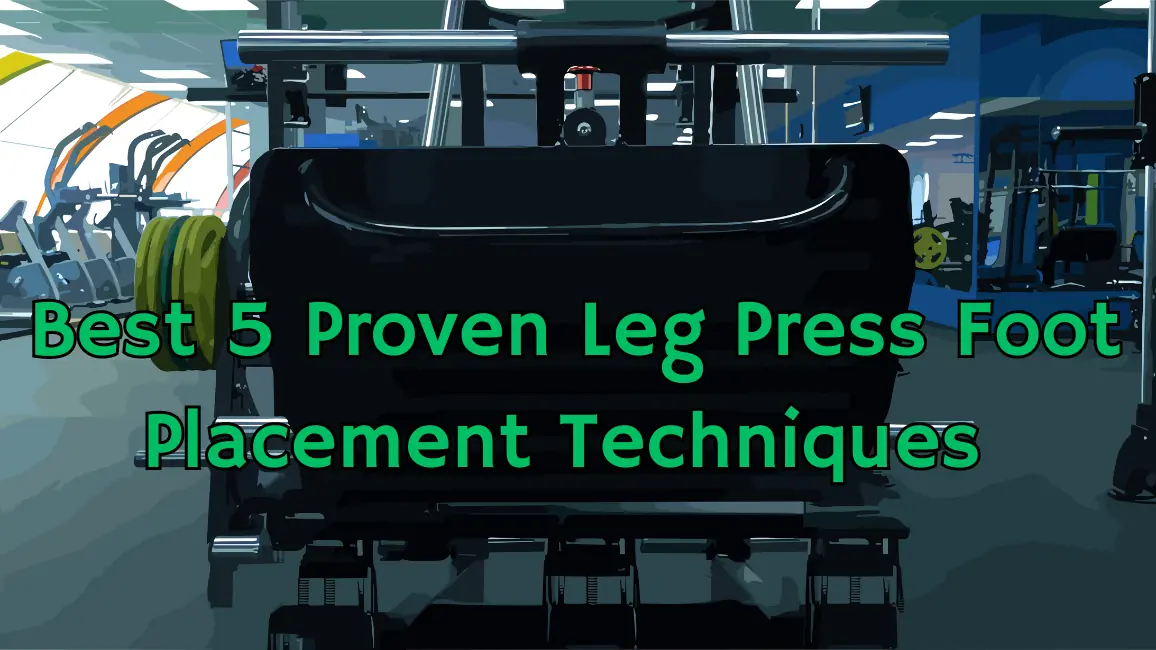
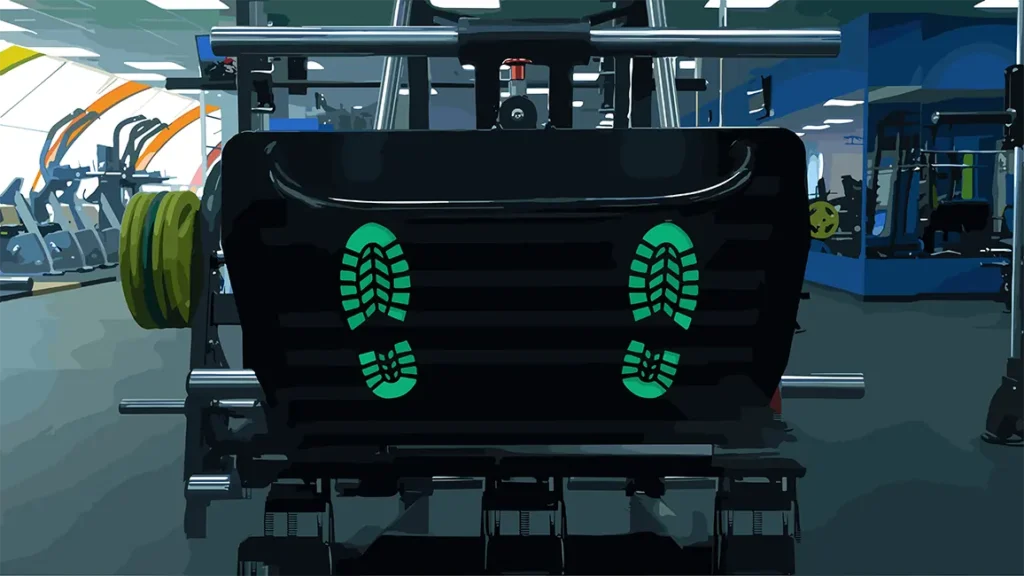
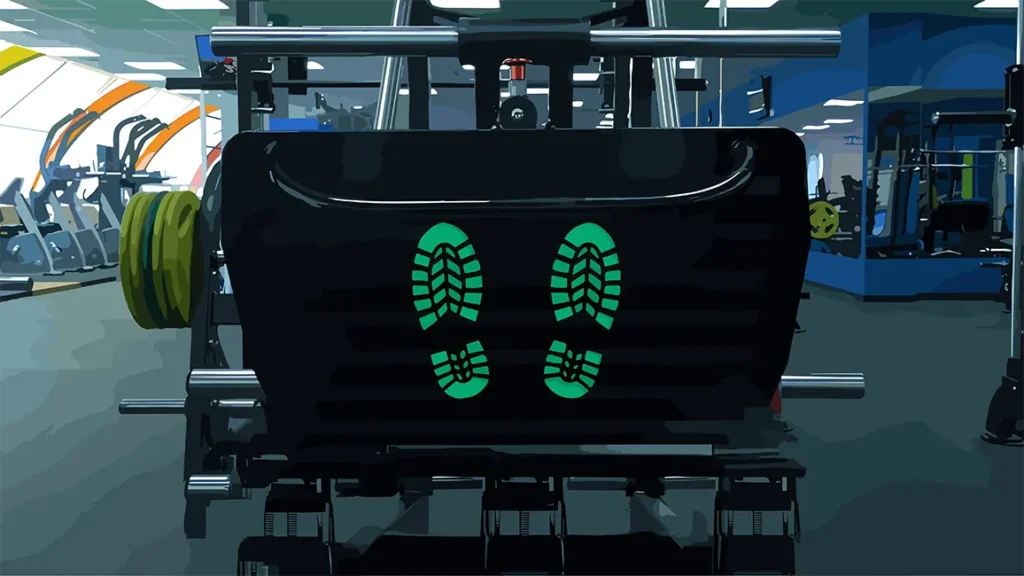
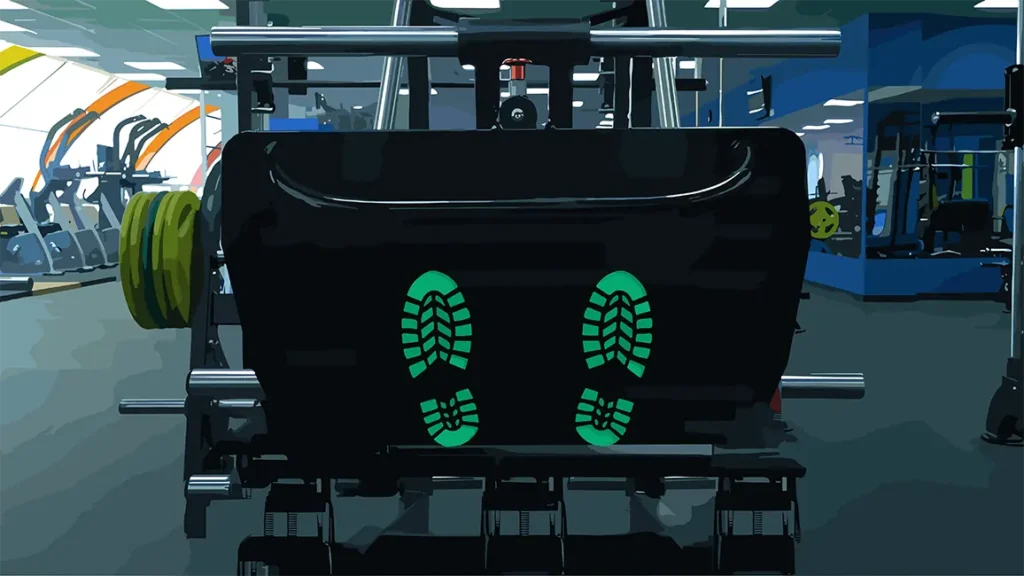
1. Neutral/Standard Position
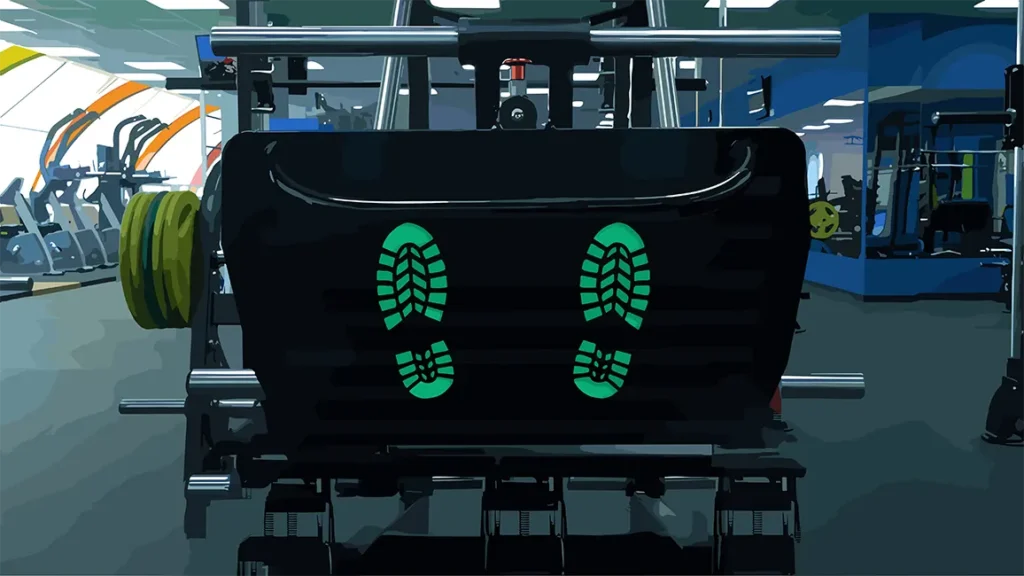
This is the default position, with feet about hip-width apart and placed roughly midway between the centre and bottom of the platform. From here, you can play with stance width and foot height to target different areas. It provides a balance of quad, hamstring and glute work.
Steps/Techniques
- Set feet hip-width apart centered on the platform. Turn toes slightly outward up to 15 degrees.
- Ensure the entire foot remains flat on the platform. Do not lift heels or go on toes.
- Align knees directly over ankles so shins are vertical. Knees should track in line with toes.
- Engage the core to keep the lower back flat by drawing the belly button in towards the spine.
- Inhale as you lower your weight, focusing on control. Aim for 3 seconds eccentric.
- Stop descent before back rounds. Use safety stops if needed.
- Exhale and drive weight up through heels, keeping knees tracking over toes. Avoid locking knees.
- Repeat for 10-12 reps. Use a full range of motion for maximum muscle stimulation.
- This hits the quads, hamstrings and glutes for balanced development. It’s a safe, knee-friendly stance.
Pros:
- Hits all major muscle groups for balanced development
- Knee-friendly width protects joint tracking
- Full squat range builds strength
Cons:
- Doesn’t maximize specific muscle focus
- Less targeted stimulus compared to other stances
- Can get repetitive over time
2. Wide Stance
Sliding your feet out wider than shoulder-width apart puts more emphasis on your outer quads, reducing inner thigh and hamstring activation. This hits the sweep of your quads spanning the outer hip to the knee. Keep feet pointing straight ahead.
Steps/Techniques
- Set feet wider than shoulder width, pointing straight ahead or slightly outward.
- Rotate legs outward from hips rather than excessively flaring feet to protect knees.
- Maintain a flat foot position with weight distributed across the whole foot. Do not lift heels.
- Keep knees tracking over toes, and resist collapse toward the midline. Drive knees outward if needed.
- Inhale as you lower into a deep squat, controlling descent. Do not round the lower back.
- Exhale and press weight back up by driving through heels, keeping knees aligned over ankles.
- Repeat for 8-10 reps. The wide stance emphasizes the outer thighs and lateral quad sweep.
- This hits the glutes and hip abductors harder too. Challenges stability through the core.
Pros:
- Emphasizes outer thighs and quads – A wider stance increases activation of the vastus lateralis sweep of the quads from the greater trochanter to the knee.
- Hits glutes and hip abductors – Widening stance also engages the glutes and outer hip muscles harder.
- Challenges stability – Pressing with a wide base tests-core stability and balance.
Cons:
- Reduces inner thigh and hamstring work – Wider foot flare means less emphasis on adductors and hamstrings.
- Can strain knees if feet excessively wide – Exaggerated width places excessive torque on knees. Moderate width is safest.
- Harder to keep knees tracking properly – A wide stance makes it more difficult to maintain knees over toes during press.
3. Narrow Stance
Moving your feet closer together in a narrow stance brings more focus to your inner quads. With feet closer than hip-width, you’ll feel this in the upper inner thigh region. Driving knees outward counters any valgus collapse.
Steps/Techniques
- Set feet narrower than hip-width, pointing straight ahead or slightly turned out.
- Maintain flat feet, distributing weight evenly across soles. Do not lift heels.
- Actively drive knees outward during descent to keep tension on inner thighs. Resist collapse.
- Keep shins vertical with knees tracking over ankles throughout the entire range of motion.
- Inhale going down into full squat depth if mobility allows. Do not round the lower back.
- Exhale and drive back up to the starting position by pressing through heels.
- Repeat for 12-15 reps. A narrow stance targets the inner thighs and upper quads.
- Keep glutes tight to stabilize hips. Can combine with a wide stance for contrast.
Pros:
- Targets inner thighs and upper quads
- Allows driving knees outward
- Keeps tension on quads
Cons:
- Reduced outer thigh and hamstring work
- Can feel unstable
- Limited range of motion
4. Low Foot Placement
Dropping your feet down toward the bottom of the platform increases the range of motion to enable deeper squatting. This increased depth targets quads through a greater knee bend while reducing hamstring involvement.
Steps/Techniques
- Place feet low on the platform, toward the bottom but still flat.
- Point toes forward. Set stance width based on preference – shoulder width or narrower.
- Keep knees tracking over toes without letting knees cave inward.
- Lower down into a deep squat, allowing greater knee bend than a typical leg press.
- Inhale on the descent, using a 3-second count. Stop before rounding low back.
- Exhale and drive back up to the starting position without locking your knees out.
- Repeat for 10-12 reps. The greater squat depth enabled by the low foot position enhances quad activation.
- This shifts the emphasis from hamstrings/glutes to quads. Not ideal for those with knee or back issues.
Pros:
- Allows greater squat depth
- Enhances quad focus and activation
- Full knee bend targets quads
Cons:
- Reduced hamstring activation
- Potential for low back rounding
- Limited glute involvement
5. High Foot Placement
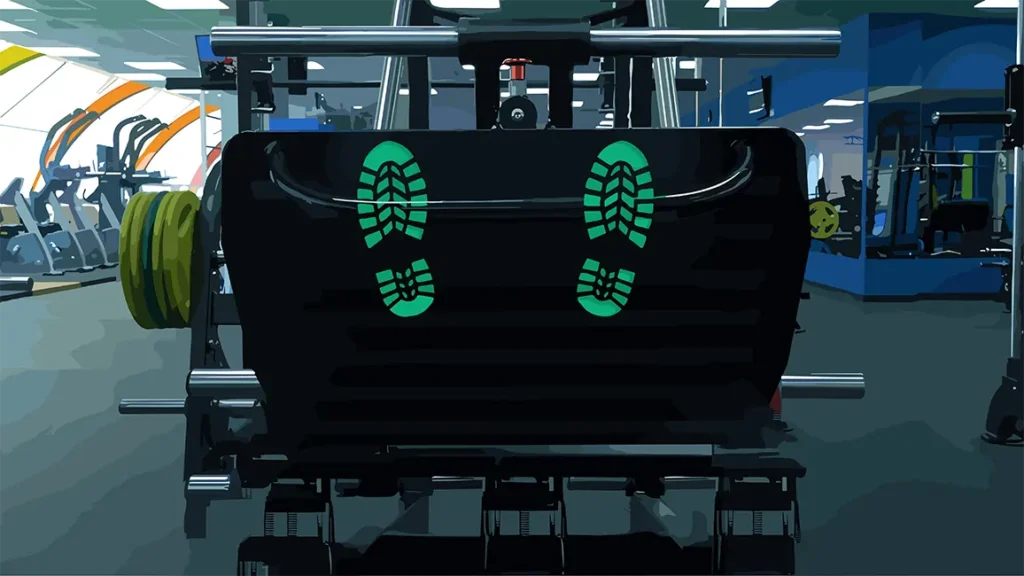
Elevating your feet higher up engages more hamstrings and glutes due to decreased squat depth. With a shorter range of motion stopping above parallel, hams and glutes activate earlier to extend the hip.
Steps/Techniques
- Place feet high on the platform toward the top while keeping flat and balanced.
- Stance width can be shoulder width or narrower based on preference.
- Keep knees tracking over toes, do not let knees cave inward on descent.
- Reduce squat depth compared to low foot placement, stopping above parallel.
- Inhale going down, exhale extending hips and knees to lift weight back up.
- Repeat for 12-15 reps. The shorter range of motion increases hamstring and glute involvement.
- This also decreases quad and knee involvement. Ideal for those with knee issues.
- Combine with low foot placement for contrasting stimulus and balanced development.
Pros:
- Hits hamstrings and glutes from reduced depth
- Prevents deep knee bend
- Allows glutes to initiate movement
Cons:
- Decreased quad involvement
- Shortened range of motion
- Loss of maximum training stimulus
The ideal foot position depends on your training goals and individual body mechanics. Experiment with different stances to determine what works best for you. Pay attention to joint comfort and targeted muscle activation.
Choosing the Best Leg Press Foot Placement
Here are some general guidelines for selecting a foot position based on your goals:
- If you want to target quads, use a high-foot placement
- If you want to prioritize glutes/hamstrings, use a low-placement
- If you have knee issues, avoid locking out your knees with a high stance
- If you have back issues, be cautious with low foot placement
- If you have mobility restrictions, start with shoulder-width, toes forward
Record yourself pressing from different foot positions. Watch your joints, range of motion, and muscle control. Pick the placements that let you press with good form and feel it in the desired muscles.
Start with lighter weights as you optimize foot position. Gradually increase the load focusing on proper alignment and muscle engagement. Adjust your stance as needed to reap continued gains.
Proper Leg Press Form
To maximize the benefits of the leg press safely, follow these form guidelines:
- Plant your feet firmly on the platform in your chosen position
- Engage your core to stabilize your spine in a neutral position
- Breathe in as you lower the platform under control
- Keep your knees aligned over your toes, do not collapse inward
- Press through your heels as you exhale and drive the platform away
- Avoid locking out knees at the top
- Repeat for specified reps and sets
Advanced Foot Placement Variations
Beyond the standard leg press foot positions, some machines offer additional options:
- Single leg presses – greater stability challenge pressing one leg at a time.
- Turning toes inward – hits outer quads more but requires extra control.
- Elevating heels – shifts emphasis to quads when heels are raised on a plate.
- Staggered stance – front foot forward increases glute activation.
- Band resistance – bands when legs are fully extended enhance hams/glutes.
Additional Tips
Here are some extra leg press tips for getting the most out of this exercise:
- Warm up first with bodyweight squats to prepare joints and activate muscles
- Go slow – use a 3-second count for both concentric and eccentric phases
- Use full range of motion for maximum muscle-building stimulus
- Vary your stance occasionally to hit your legs from different angles
- Consider combining with other quad/glute exercises like squats or lunges
Be sure to test different foot positions to find what’s most comfortable and targets your desired muscles.
Setting Up Proper Foot Placement
Follow these tips when getting set up in the leg press:
- Place feet roughly shoulder-width apart centered on the platform.
- Point toes straight ahead or slightly outward up to 15 degrees – never exaggerated outward angle.
- Keep your entire foot flat on the platform – don’t lift heels or go up on your toes.
- Align knees over feet so shins are vertical through knees and ankles.
- Set safety stops to enable desired squat depth without rounding the lower back.
- Keep feet planted firmly on the platform throughout the motion.
Common Foot Positioning Mistakes
Some leg press foot position errors to avoid:
- Rotating feet and knees excessively outward – strains knees.
- Pointing toes inward in a pigeon-toed stance – increases the risk of a knee injury.
- Lifting heels off the platform – heels must remain down for foot stability.
- Feet too high/low for the desired range of motion.
- Feet too wide or narrow for hip structure – causes knees to track incorrectly.
- Changing foot position mid-set – maintain the same foot stance for all reps to prevent injury.
Sample Leg Press Workouts
Here are two sample leg press workouts to try using different foot positions:
Workout 1: Quad Focus
- Leg Press: 3 sets x 8-10 reps (high and wide stance, toes forward)
- Leg Extension: 3 sets x 10-12 reps
- Lying Leg Curl: 3 sets x 12-15 reps
- Calf Raise: 3 sets x 15-20 reps
Workout 2: Glutes and Hamstrings
- Leg Press: 3 sets x 12-15 reps (low and narrow stance, toes out)
- Stiff Leg Deadlift: 3 sets x 8-10 reps
- Seated Leg Curl: 3 sets x 12-15 reps
- Dumbbell Side Lunge: 3 sets x 10 reps per leg
Vary your foot position over time for balanced lower body development. Cycle heavy and lightweight sessions to allow progressive overload.
In summary, dialling in proper foot placement on the leg press is key for both safety and optimal muscle activation. Test different foot positions and stances to find what works best for you. Proper setup is critical for building strong, muscular legs from this excellent compound exercise.
Conclusion
Dialling in proper foot positioning is a crucial piece of leg press form often overlooked. But your foot placement significantly influences muscle activation, joint alignment, squat depth, and safety. Experiment with the 5 primary stances – neutral, wide, narrow, low, and high – to find what works best for your goals. There is no universally “right” foot position; the ideal stance depends on your body mechanics and targeted muscles. Use this guide to optimize foot placement so you can safely maximize quad, hamstring, and glute development from the leg press.
People Also Ask (FAQs)
Q. What is the most common foot position used on the leg press?
A. The most common foot position is shoulder-width apart, flat on the platform – known as the neutral position. This allows a balanced workout hitting all major leg muscle groups.
Q. Which foot position targets the outer thighs and quads the most?
A. A wide stance with feet wider than shoulder-width will emphasize the outer thighs and quads, especially the sweep of the vastus muscles. Turn your feet slightly outward.
Q. What foot placement focuses on inner thigh muscles?
A. Moving your feet closer together into a narrow, less-than-hip-width stance will target the inner thighs along with the upper quadriceps.
Q. If my goal is bigger hamstrings and glutes, where should I place my feet?
A. Elevating your feet higher up on the platform will increase hamstring and glute involvement due to the reduced squat depth.
Q. What foot position allows the deepest squat and greatest quad activation?
A. Lowering your feet closer to the bottom of the platform will enable the greatest squat depth and quad muscle activation from the increased knee bend.
References
- Bodybuilding.com: A well-known resource for fitness and exercise information, Bodybuilding.com provides articles, videos, and expert advice on various exercises, including the leg press.
- Website – Bodybuilding.com
- ACE Fitness (American Council on Exercise): ACE is a reputable organization in the fitness industry. They offer articles and research on exercise techniques, including the leg press.
- Website – ACE Fitness
- Muscle & Fitness: Muscle & Fitness magazine provides workout routines and exercise guides, which can be a valuable source for information on the leg press and proper foot placement.
- Website – Muscle & Fitness
- PubMed: For scientific studies and research on exercise techniques and their effects on muscle engagement, you can refer to PubMed, a trusted source for academic articles.
- Website – PubMed


I like this site it’s a master piece! Glad I observed this on google.
My web-site … https://dominicksrclu.yomoblog.com/26374399/how-much-you-need-to-expect-you-ll-pay-for-a-good-mp3-juices